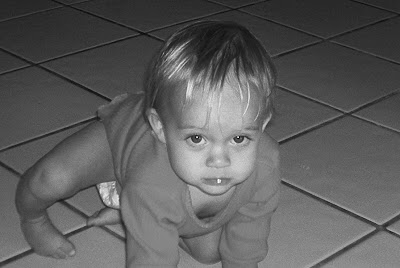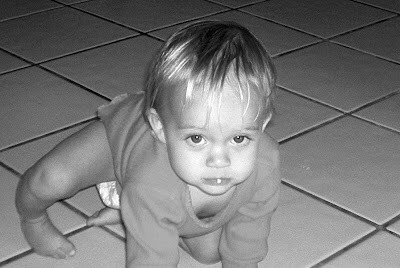

Next- the results of just changing color mode to grayscale.
Image; Mode; Grayscale
Not so great, is it?
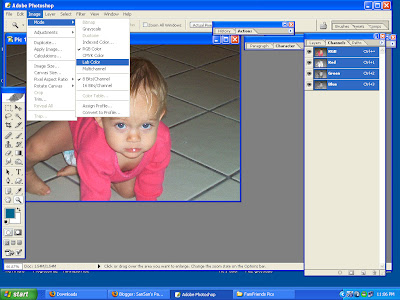
1. A better way is to use lab mode. Open the color original. Bring the Channels Palette to the front.
2. Then go: Image; Mode; Lab.

3. Now you'll see Lab, Lightness, A & B channels. Drag A or B to the little trash can below (or right click and choose Delete Channel) It doesn't matter which one you delete.
4. Now you see: Alpha 1 and Alpha 2.
5. Delete Alpha 2
6. Important step. Go back to MODE and change it back to grayscale at this point.
Additional optional step: I also applied: Image; Adjustments; Auto Contrast.

Your photo is greatly improved. You can tweak the levels or the brightness/contrast, or any other methods you are comfortable with. This method gets you closer to a better end result quickly.
7. Most important step: SAVE AS and give it a different name so you won't save over the color original.

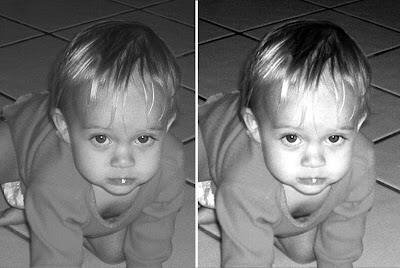
Results! Grayscale only on left; using lab method on the right. I loved it so much I made an action of it. Making your own actions will be covered in a post very soon!


No comments:
Post a Comment